

Makes 6-8, depending on serving sizes
Crust:
3/4 cup walnuts
Filling:
8 oz. cream cheese
zest of one lime
juice of one lime (or 1/2 or 3/4, depending on how sour you like things)
2 tablespoons Xylitol or you could use Truvia to taste instead
1/2 t. vanilla
1/4 c. heavy cream
Topping:
1/2 c. heavy cream
1 tab. Xylitol
1/2 t. vanilla
To make crust: place whole nuts in either a food processor, or a powerful coffee grinded (what I use) and process until very fine (see picture below on right). The original recipe called for 1/2 cup pecans, (which I want to try sometime) but since I didn't have any when I decided to make this, I used 3/4 cup of walnuts.


Gather 6 empty jars, 8 shot glasses or any kind of small glass bowls.

Divide the finely ground nuts among the jars and press the nuts down using a skinny bottle (that's been washed) or anything the will fit inside of the jars.


Whip the 1/4 cup heavy cream in a bowl until soft peaks form:

Peel some of the lime peel and slice into small strips:

Zest and juice lime:


Combine lime zest and juice along with the cream cheese, vanilla and sweetener. Whip this all up till it gets past looking like cottage cheese (top part of the image below), and starts to look smooth and creamy (bottom image).


Split the filling between the six jars and spread over the nut crust. Whipped the remaining heavy cream with the remaining vanilla and sweetener until soft peeks form. Spread over the filling mixture and garnish with the lime strips.

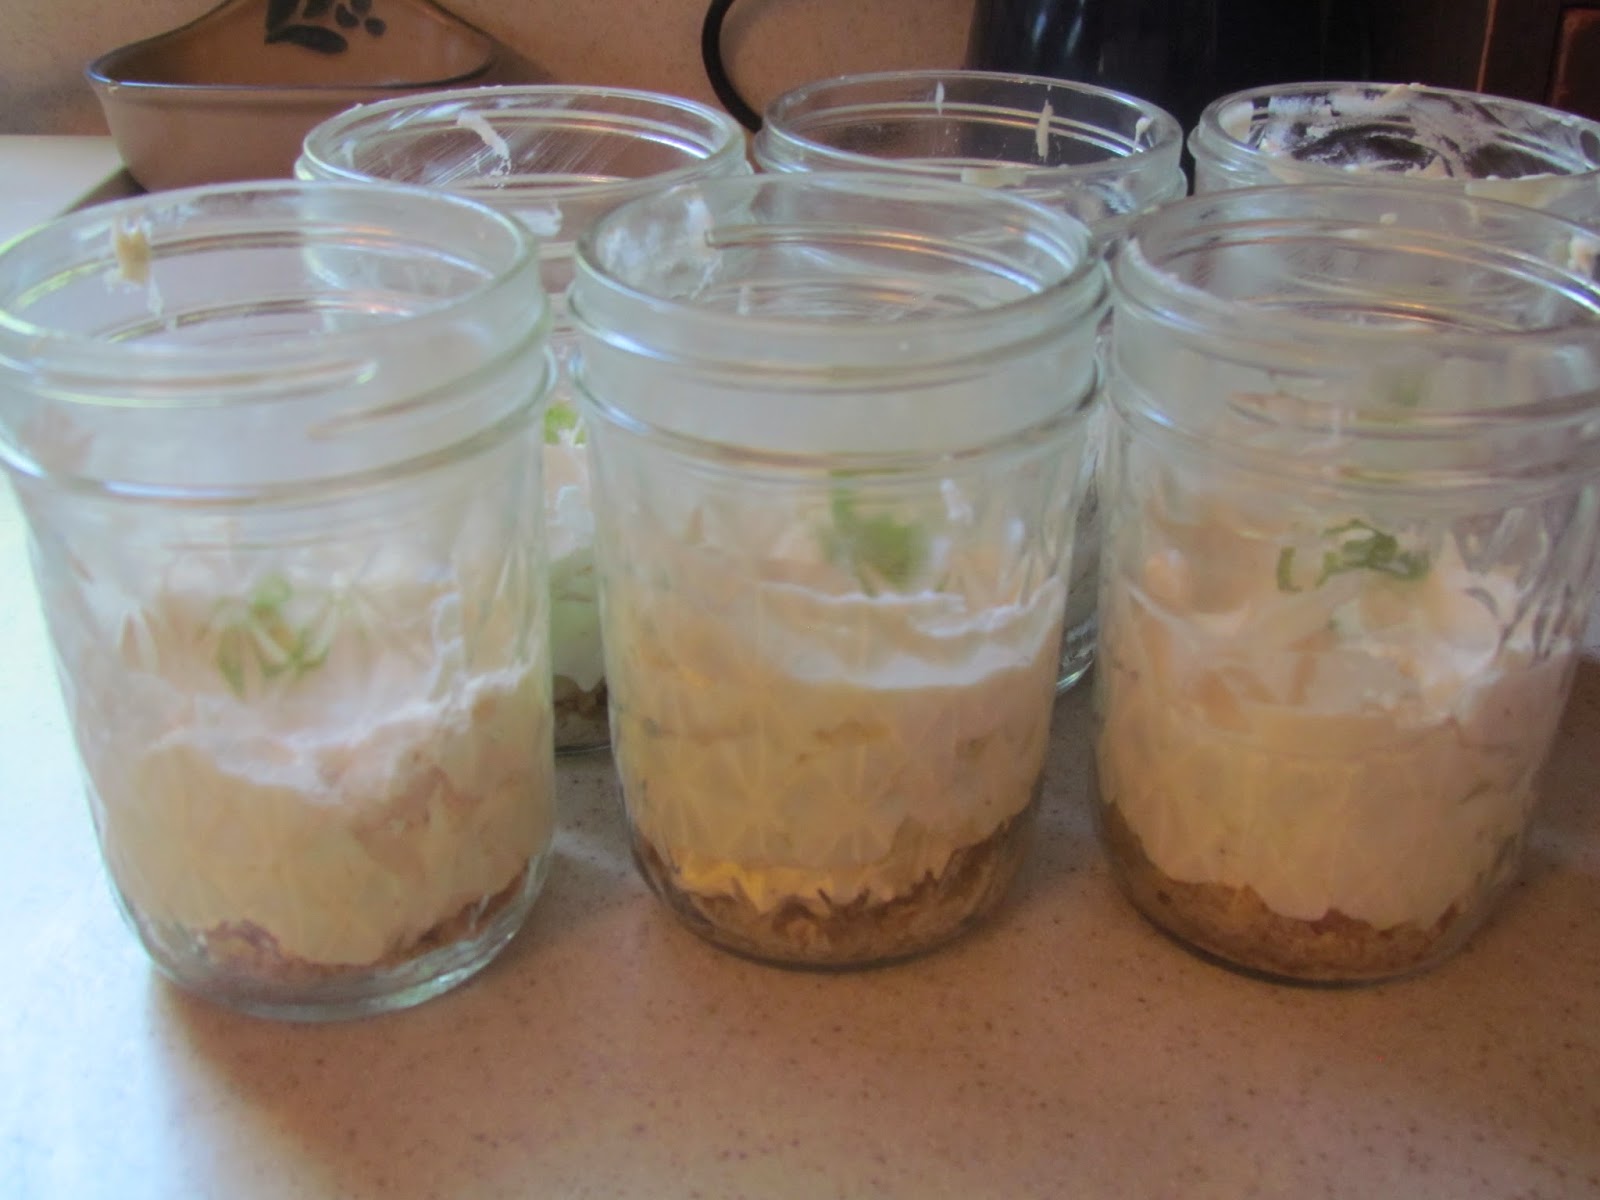
Store in the refrigerator enjoy ;-)

Note: Since I used xylitol in this recipe, I wanted to share with you the difference between the two xylitols I have. The one to the left in the picture is the one that I used. It's much finer so it dissolved quickly. The one on the right is a much coarser xylitol. You can use this as well, only make sure you put it in the food processor or a coffee grinder first, so that it's fine enough to incorporate into your filling and cream without tasting the granules.

No comments:
Post a Comment