Pages

Monday, June 10, 2013

Nut, Seed, Fruit Bars

 
I was searching Pinterest, desperately trying to find some healthy snacks and came across this. I love it because it has protein from the nuts, no sugar (since I used dried fruit without it) and a lot of nutrition from the seeds and good oil! Plus these are extremely versatile so you can make them with whatever you have on hand!
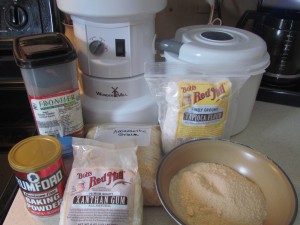
 
 
INGREDIENTS:
 
 
2 1/2 cups nuts and seeds (I use 1/2 cup of cashews, almonds, walnuts, pumpkin seeds 
                                            and a 1/4 cup sesame seeds and sunflower seeds)
1 cup dried fruits (I use 1/2 cup dates and 1/2 cup raisins)
1/4 cup coconut (I use dried unsweetened)
1/4 cup coconut oil
1/3 cup almond butter (could use peanut butter or cashew butter if desired) 
1/3 cup honey (I use raw)
1 tsp. vanilla extract (you could use other kinds to vary the flavor if desired)
1/2 tsp. sea salt
1/2 tsp. cinnamon

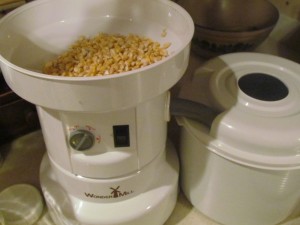
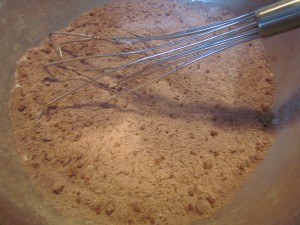
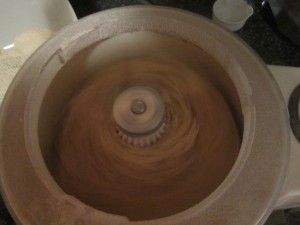
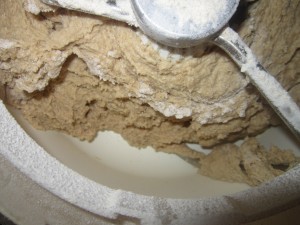
Place all nuts/seeds in your food processor.

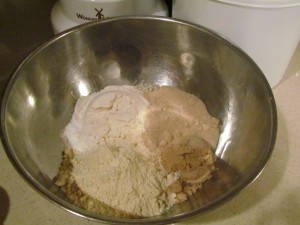
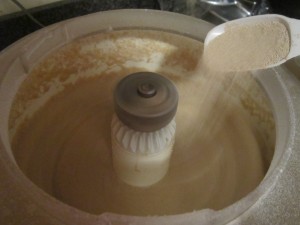
Add dried fruit and coconut
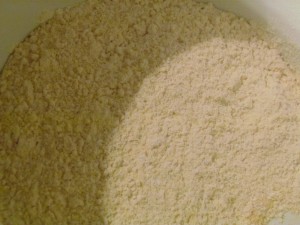
Pulse until everything is chopped
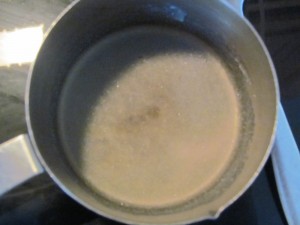
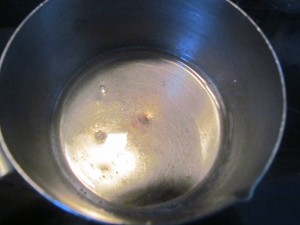
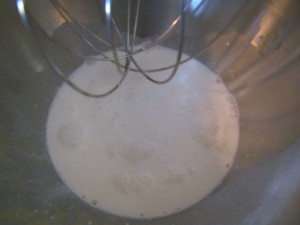
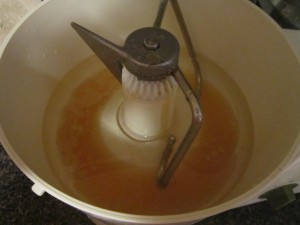
Place the rest of the ingredients in a sauce pan and warm on low JUST until combined (you don't want to heat it too much, cuz heat kills enzymes that you want).
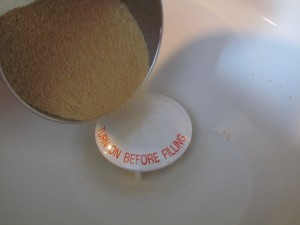
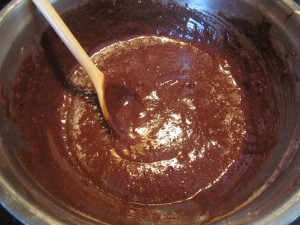
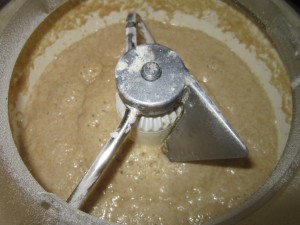
Pour liquid mixture over your fruit, nut, seed mixture
Mix until everything is combined!
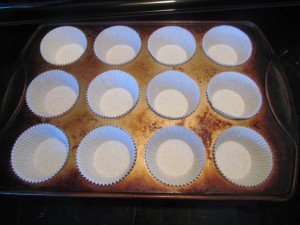
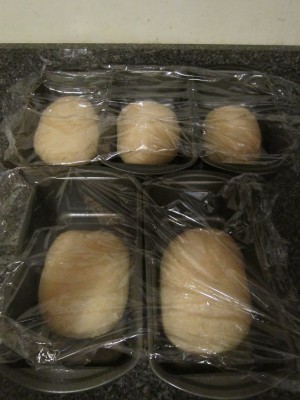
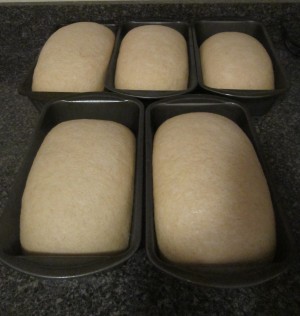
Place into a wax paper lined pan
 Press down firmly
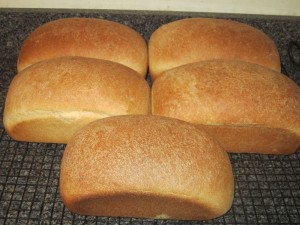
 Place in refrig just until cold to make sure it sticks together well. Cut into bar size pieces!
Store in the refrig or the freezer in an air tight container with wax paper in-between, or wrap individually for an easy snack on the run!!
 

Kale Chips


My whole family loves these chips, which is saying a lot since we have a lot of little kids. The nutritional yeast is what I think does the trick because it gives they a "cheesy" flavor, while being so nutritious!
 

INGREDIENTS:
 
2 bunches of Kale ( I like to use organic)
2 Tab. extra virgin olive oil
3 Tab Bragg's amino acids, coconut aminos, or tamari (I use Bragg's)
1/2 tsp, garlic granules
1/2 tsp. sea salt (optional)
1/2 cup nutritional yeast flakes
 Start off by washing the kale
Remove the center stem of the kale and discard. Tear the kale leaves into large pieces (not too small as they will shrink in the dehydrator). 
Place kale in a big bowl and add all the ingredients except for the nutritional yeast. Mix well and massage with your hands. Sprinkle on nutritional yeast and mix until all leaves are coated.
 Place strips directly on mesh dehydrator trays.
 Dehydrate on 115 degrees for 4-5 hours.
When finished they should be crispy! I like to store them in mason jars in a cool place!

Cashew Parmesan

I love making this to go on top of my salads, rice, soup,  or even pasta! The Nutritional yeast gives it a "cheesy" flavor without the dairy. It's perfect for a vegetarian or vegan diet and it's super delicious!

In a food processer place:
 
1 cup cashews or 1 cup almonds
2 Tab. Nutritional Yeast
1 tsp. garlic granules
1/2 tsp sea salt 
 
Pulse until it's the consistency of parmesan cheese.
Store in a container in the refrigerator and use as needed! :)


Thursday, January 24, 2013

Coffee Shop Corn Muffins

IMG_0474
Growing up my mom used to make cornbread all the time. She loved it fresh out of the over with melted butter. Yum! But I could never seem to get over how dry it seemed. Not to mention that if you didn't eat it piping hot outta the oven, it didn't seems to taste as good. Years later I found this recipe and it's been my favorite way to make cornbread ever since. These are so moist and have almost a sweet taste so they make the perfect addition to any meal (such as chili, soup, or stew) or you can make them for breakfast. They are super fast to make and even taste good the next day!
IMG_0465IMG_0466
Grind corn on the "bread" setting! Cornmeal will look like picture above!
 
Preheat oven 425 degrees
IMG_0467
In a mixing bowl combine dry ingredients:
 
1 1/4 cups cornmeal (ground in your WonderMill)
1 cup flour
1/3 cup brown sugar
1/3 cup sugar
1 tsp. baking soda
1/2 tsp. salt
 
IMG_0468
Add to the dry ingredients and mix well:
 
1 egg
1 cup milk
 3/4 cup oil (I use safflower)
 
IMG_0469
Using a non stick cooking spray, lightly spray a muffin pan. Fill muffin cups 2/3 - 3/4 full (depending on the size you want your muffins).  Bake in oven for 13-15 minutes on 425 degrees. Note: These muffins brown really fast, so make sure you check them around 13 minutes. Also, some overs cook hot, so you may need to turn your oven down just a bit.
IMG_0471
When tested done, remove from oven and place on a wire rack to cool for a few minutes. Serve warm with butter!
 
Note: If you want a more chunky texture, you can add some drained canned corn. These are really delicious that way too! :)
 
*This was the last of the recipes posted for the Grain Mill Challenge

Gluten Free Chocolate Cupcakes with Chocolate Whipped Cream

IMG_0746
I did a lot of playing around with recipes and mixing different ones to make what you see here. At the time, my dad couldn't have wheat, but I didn't like most of the gluten free cake I had tried on account of them being too dense. So I set out to experiment, and this is what I came up with.
In this recipe I used a grain called Amarantha. It has a nutty flavor and is gluten free! You can buy the grain at your local health food store. If you do not have a grain mill, you can also buy the flour there. But it's cheaper and fresher if you can buy the grain and mill it yourself.
IMG_0718IMG_0721
Start by grinding about 1/2 cup of Amarantha grain (this gave me about 3/4 cup Amarantha flour) on the "pastry" setting in your WonderMill. Now you're ready to begin!

IMG_0716IMG_0722
Preheat oven to 350 degrees.
In a bowl combine dry ingredients:
3/4 cup (rounded) Amarantha Flour (use your WonderMill to grind the grain to flour)
3/4 cup (rounded) Tapioca Starch
1/2 cup cocoa powder
1 cup evaporated cane sugar (any sugar will work)
1/2 tsp. sea salt
1 tsp. baking powder
1 tsp. baking soda
1 tsp. xanthan gum
IMG_0723
Add wet ingredients to your dry ones and mix:
1 cup warm coffee, milk, or Almond milk (I used 1/2 cup coffee and 1/2 cup milk)
2 eggs
3 tab. oil (I used safflower oil)
2 tsp. Vanilla Extract
1/2 tsp. hazelnut (optional)
1/2 tsp. vinegar
IMG_0725
Line muffin pan with paper baking cups. Spray lightly with non stick cooking spray.
IMG_0726
Fill each muffin cup 2/3 - 3/4 full (depending on how big you want your cupcakes). Bake in 350 degree oven for 18-20 minutes.
IMG_0744
When done, pull out of oven and place on cooler rack to cool. While they are cooling you can make the Whipped Cream for the top!
Chocolate Whipped Cream:
Begin with making a stabilizer for the whipped cream. This will help to keep if from "melting" and getting drippy when it sits for a bit.
IMG_0729IMG_0730
Place in a small pan:
1 tsp. unflavored gelatin
4 tsp. cold water
Combine and let sit until thick. Place over low heat, stirring constantly just until gelatin dissolves. Remove from heat and cool slightly.
IMG_0731
In a mixing bowl combine:
2 cups heavy whipping cream (at least 24 hours old and very cold)
2/3 cup - 1 cup powdered sugar
1 tsp. vanilla extract.
IMG_0733
Beat until slightly thickened.
IMG_0735
While beating slowly, gradually add gelatin to whipped cream mixture. Whip at high speed until stiff.
IMG_0738
Add:
3 tab. cocoa powder
IMG_0742
Frost cooled cupcakes or put whipped cream in a pastry bag and pipe onto cupcakes. Store in refrigerator until ready to serve. Makes 12-18 cupcakes.
IMG_0756
Note: This recipe was one that I entered in the Grain Mill Wagon Challenge!


Friday, January 4, 2013

Whole Wheat Bread

IMG_0066
There is nothing like the fresh smell of homemade bread baking in the oven! So let’s get started!!
IMG_0547IMG_0548
Start with grinding your whole wheat I used about 12-13 cups of wheat berries to have enough wheat to make this recipe!
IMG_0052
In your bread mixer combine:
2/3 cup oil (I use 1/3 each of olive and safflower oil)
2/3 cup honey
1 tab. sea salt
5 cups warm water
IMG_0055
With mixer on med speed, add to it:
About 8 cups of  wheat flour
3 tab. yeast
Vitamin C powder (this is optional, but it’s a natural preservative, so it helps to add it)
IMG_0056
Let rest for about 5 minutes. Mixture will begin to look bubbly (like pictured above). This helps to “activate” the yeast.
IMG_0058
While mixer is running, add:
2 tab lemon juice (this is also optional but  helps to enhance the natural gluten in the wheat)
About 10-11 cups of wheat flour
IMG_0059
Note: Depending on the humidity of the day and how fresh ground your wheat is and how exact your measurement of water is, the amount of wheat flour you need will vary a little. The rule of thumb I learned was to add the wheat a little at a time until dough pulls away from the side of the bowl (like pictured above).
When you’ve added the remainder of your wheat flour, kneed the dough for 2-3 minutes on med/high speed, or the “kneed” setting on your mixer.
IMG_0061IMG_0062
Depending on your size pan, divide dough into 5 or 6 sections ( I used a large bread pan so I did 5). Tuck the sides of each section of dough under and pinch together at the bottom. Place in a greased bread pan. Cover (I use plastic wrap, but you can also use paper towels) and let rise for a half hour, or until about double in size.
IMG_0063
Gently remove cover and carefully (so that bread does not fall) place in a preheated 350 degree oven. Bake for about 30 minutes (if your oven bakes really hot, you may want to check them a few minutes early).
IMG_0064
Remove from pans and let cool on a wire wrack. I like to brush the tops with butter before they are cooled, as this keeps the top crust nice and moist. Enjoy!!
IMG_0065
This recipe was part of the recipes I post on the Grain Mill Challenge