Pages

Showing posts with label Healthy Living. Show all posts

Tuesday, June 3, 2014

Breaded Zucchini Chips (Gluten Free)


Ingredients:
  • 1 Medium – Large Zucchini
  • 1-3 Tbsp Palm Oil
  • 1 egg
  • 1/2 cup almond meal (depending on the size of your zucchini)
  • Salt and Pepper to taste
  • 2 Tbsp. Nutritional Yeast
  • 2 Tbsp. Sesame Seeds
Directions:
      Mix all dry ingredients together in a bowl. Beat the egg in a separate bowl.


Slide zucchini into thin coins.


 On medium heat, heat your frying pan and enough Red Palm oil to almost coat the bottom of your pan.
 
Dip zucchini coins in the egg


 Then dip them in the almond mixture


Place in frying pan and fry on one side until golden brown. Make sure your pan is hot enough to brown them, but not so hot that it starts to burn them

 
Flip and fry on the other side

It's that simple! They are really good with sour cream, or for the kids, ketchup! These should also be THM approved, as an "S" meal!


Coconut Almond Skinny Chocolate


Ingredients:
1/2 c. coconut oil
1/4 c. unsweetened cocoa powder
3 1/2 Tbsp Xylitol or Truvia, powdered
1/4 tsp salt
1 tsp almond extract
1 tsp vanilla extract
1/2 c. dried coconut, shredded and unsweetened
1/4 cup sliced almonds (optional)
 
 
Directions:
Mix all the ingredients except oil in a bowl.
 
 
 If your coconut oil is at a solid, heat gently to make stirring easier. You don't want to heat it too much though because you'll start to kill the healthy enzymes (note my coconut oil looks a tiny bit brown in the picture because I added my vanilla to it).
 

Stir your oil and the rest of your ingredients together.
 
 
 Pour into a glass dish lined with wax paper, refrigerate for a couple hours before cutting.
 

Peel off wax paper and cut into squares.

 
Store in refrigerator or freezer to keep your chocolate solid. Coconut oil makes a delicious chocolate, but since it is oil it will melt if not kept cold.

 
This is an "S" dessert if doing it with THM!


No-bake lime cheesecake shooters

 
I found this recipe on a site called "Oh, That's Tasty". I've changed it a little to more suit what I had on hand and to be THM (Trim Healthy Mama) approved. Also, I didn't have any shot glasses, so I use 6oz Mason jars. The next time I make them I want to use the 4oz jars, but I need to buy them first, so the 6oz work for the time being! This is an "S" if you're doing it along with THM.

Makes 6-8, depending on serving sizes

Crust:
3/4 cup walnuts

Filling:
8 oz. cream cheese
zest of one lime
juice of one lime (or 1/2 or 3/4, depending on how sour you like things)
2 tablespoons Xylitol or you could use Truvia to taste instead
1/2 t. vanilla
1/4 c. heavy cream

Topping:
1/2 c. heavy cream
1 tab. Xylitol
1/2 t. vanilla
 
To make crust: place whole nuts in either a food processor, or a powerful coffee grinded (what I use) and process until very fine (see picture below on right). The original recipe called for 1/2 cup pecans, (which I want to try sometime) but since I didn't have any when I decided to make this, I used 3/4 cup of walnuts.

Gather 6 empty jars, 8 shot glasses or any kind of small glass bowls.


Divide the finely ground nuts among the jars and press the nuts down using a skinny bottle (that's been washed) or anything the will fit inside of the jars.

Whip the 1/4 cup heavy cream in a bowl until soft peaks form:


Peel some of the lime peel and slice into small strips:

Zest and juice lime:


Combine lime zest and juice along with the cream cheese, vanilla and sweetener. Whip this all up till it gets past looking like cottage cheese (top part of the image below), and starts to look smooth and creamy (bottom image).

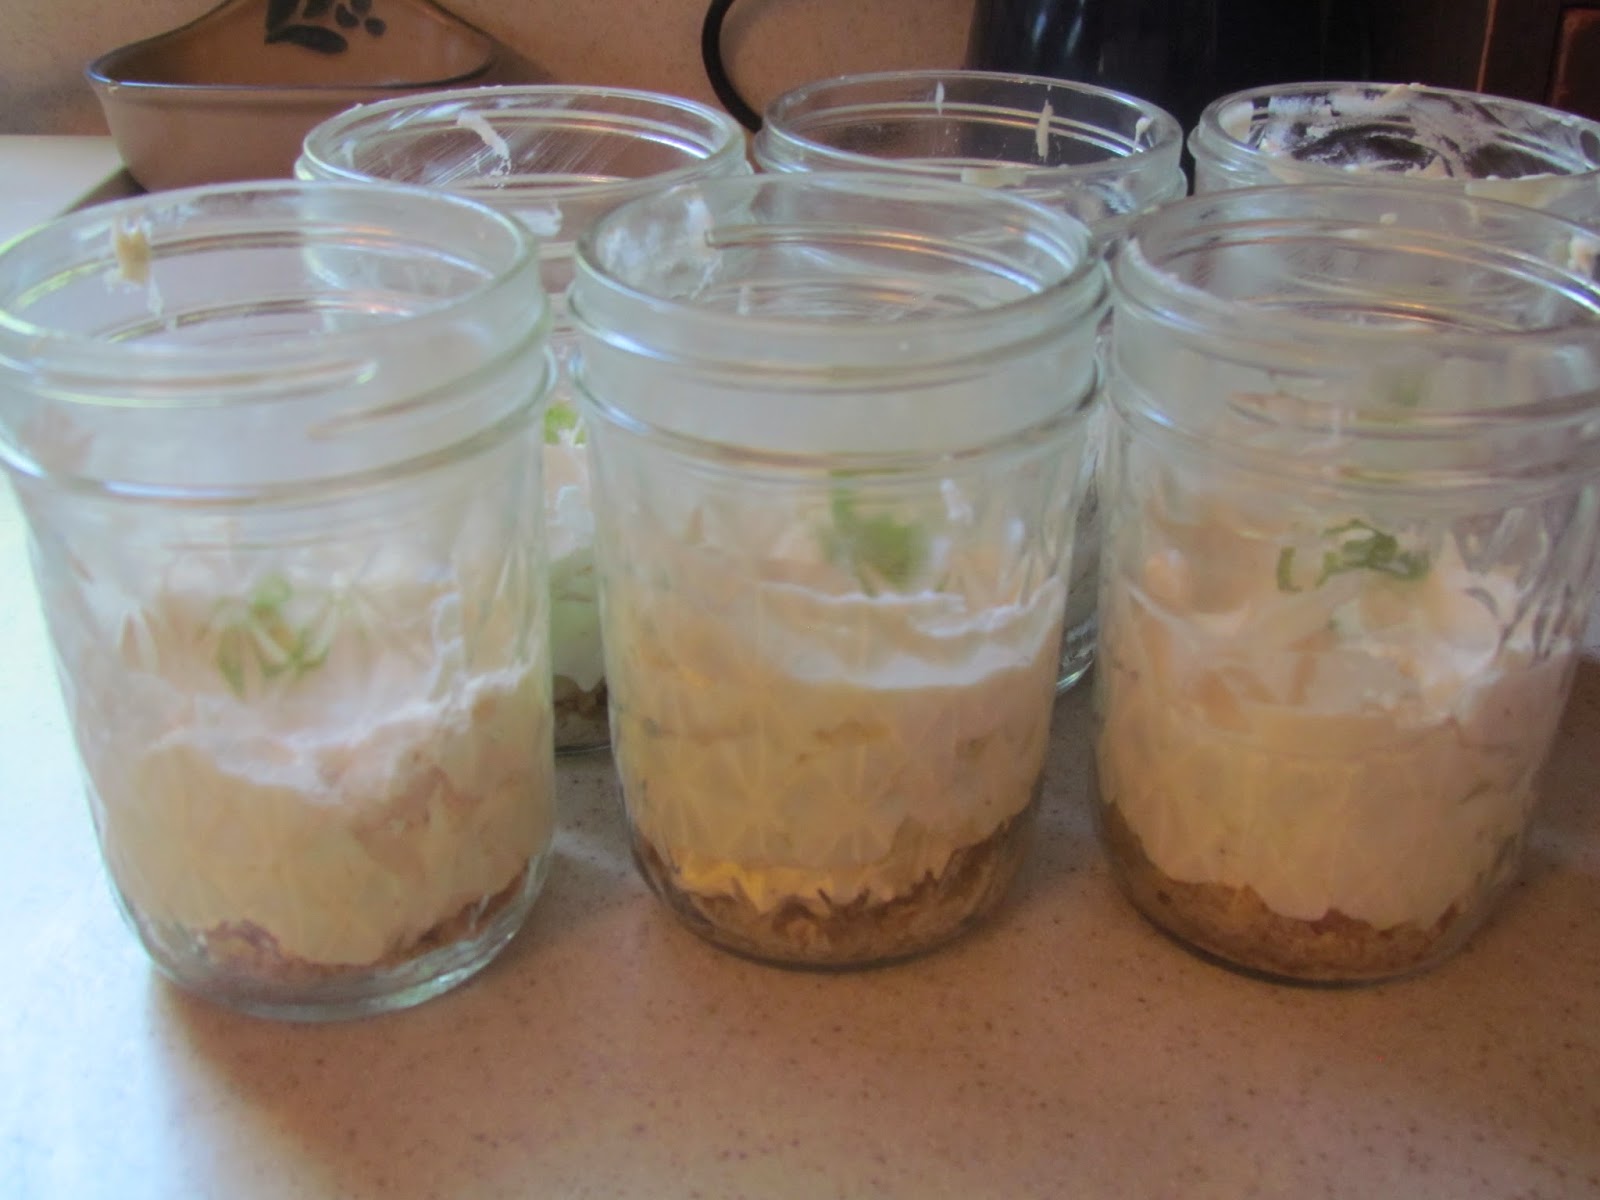
Split the filling between the six jars and spread over the nut crust. Whipped the remaining heavy cream with the remaining vanilla and sweetener until soft peeks form. Spread over the filling mixture and garnish with the lime strips.

Store in the refrigerator enjoy ;-)

 
Note: Since I used xylitol in this recipe, I wanted to share with you the difference between the two xylitols I have. The one to the left in the picture is the one that I used. It's much finer so it dissolved quickly. The one on the right is a much coarser xylitol. You can use this as well, only make sure you put it in the food processor or a coffee grinder first, so that it's fine enough to incorporate into your filling and cream without tasting the granules.   

Monday, June 10, 2013

Cashew Parmesan

I love making this to go on top of my salads, rice, soup,  or even pasta! The Nutritional yeast gives it a "cheesy" flavor without the dairy. It's perfect for a vegetarian or vegan diet and it's super delicious!

In a food processer place:
 
1 cup cashews or 1 cup almonds
2 Tab. Nutritional Yeast
1 tsp. garlic granules
1/2 tsp sea salt 
 
Pulse until it's the consistency of parmesan cheese.
Store in a container in the refrigerator and use as needed! :)


Friday, January 4, 2013

Whole Wheat Bread

IMG_0066
There is nothing like the fresh smell of homemade bread baking in the oven! So let’s get started!!
IMG_0547IMG_0548
Start with grinding your whole wheat I used about 12-13 cups of wheat berries to have enough wheat to make this recipe!
IMG_0052
In your bread mixer combine:
2/3 cup oil (I use 1/3 each of olive and safflower oil)
2/3 cup honey
1 tab. sea salt
5 cups warm water
IMG_0055
With mixer on med speed, add to it:
About 8 cups of  wheat flour
3 tab. yeast
Vitamin C powder (this is optional, but it’s a natural preservative, so it helps to add it)
IMG_0056
Let rest for about 5 minutes. Mixture will begin to look bubbly (like pictured above). This helps to “activate” the yeast.
IMG_0058
While mixer is running, add:
2 tab lemon juice (this is also optional but  helps to enhance the natural gluten in the wheat)
About 10-11 cups of wheat flour
IMG_0059
Note: Depending on the humidity of the day and how fresh ground your wheat is and how exact your measurement of water is, the amount of wheat flour you need will vary a little. The rule of thumb I learned was to add the wheat a little at a time until dough pulls away from the side of the bowl (like pictured above).
When you’ve added the remainder of your wheat flour, kneed the dough for 2-3 minutes on med/high speed, or the “kneed” setting on your mixer.
IMG_0061IMG_0062
Depending on your size pan, divide dough into 5 or 6 sections ( I used a large bread pan so I did 5). Tuck the sides of each section of dough under and pinch together at the bottom. Place in a greased bread pan. Cover (I use plastic wrap, but you can also use paper towels) and let rise for a half hour, or until about double in size.
IMG_0063
Gently remove cover and carefully (so that bread does not fall) place in a preheated 350 degree oven. Bake for about 30 minutes (if your oven bakes really hot, you may want to check them a few minutes early).
IMG_0064
Remove from pans and let cool on a wire wrack. I like to brush the tops with butter before they are cooled, as this keeps the top crust nice and moist. Enjoy!!
IMG_0065
This recipe was part of the recipes I post on the Grain Mill Challenge